E. The Mixer
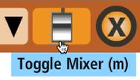
The Mixer window is activated by clicking on the fader icon in the Navigation bar or by pressing the "m" key on the keyboard. The mixer opens up over the notation window.
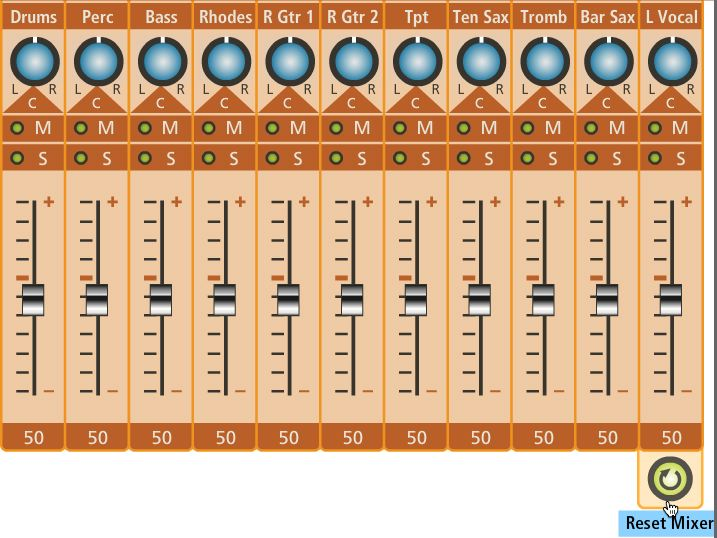
The Mixer at a Glance

The Mixer window has five different areas that need explanation. Each track or channel strip share these same features (except for #5):
- Track Name. The track names usually (but not always) correspond with the instruments in Instrument Selection menu. They will often be abbreviated.
- Pan Knobs. Turn these knobs to the left or right to change the orientation of the track in the stereo field. When you turn the Pan knob, you'll see a corresponding number change beneath the knob. The default is "C" or center.
- Mute/Solo Buttons. The mute button silences the audio on the track while the solo button will mute all tracks not soloed. You can solo or mute tracks in any combination.
- Track Volume Sliders. These sliders raise or lower the volume of the individual track. When you move a slider up or down, you'll see a corresponding number change at the bottom of the window.
- Reset Mixer Button. When you click this button, it will set all solo, mute, track pan and volume changes back to their default positions.
Track Names
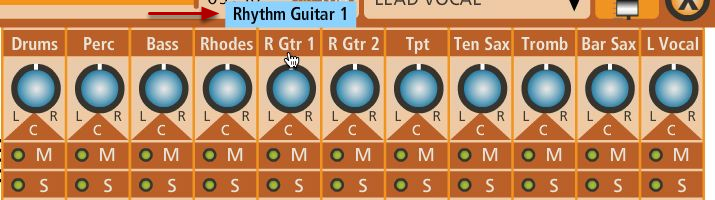
Important Tip: When a track name is abbreviated, see the full name by hovering over it with the cursor.
Pan Knobs

Like traditional mixers, these pan knobs change the position of the audio in the stereo field. When you turn the knob, you will see a letter with a number; "R" means right of center and "L" means left of center. "C" as mentioned above, means center and is usually the default position.
Important Tip: If you change a pan setting and want to return it back to its default position, click on the corresponding number and it will reset. That's much easier than turning the knob back to center.
Mute and Solo Buttons
The mute and solo buttons work like an on/off toggle switch. When you want to mute or solo a track, just click on the button. When you want to undo the mute or solo, just click on the button again. You'll know if a track is muted or soloed by a change in the button's status.
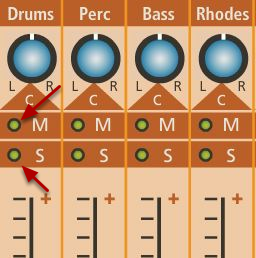
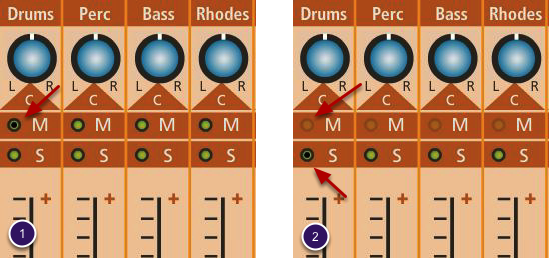
Important Tip: The two images below show the difference in mute and solo status. The first image shows a track that's muted and the second image shows a track that is soloed. Notice when you solo a track, all of the mute buttons are greyed out. This means that all tracks are now muted except for the soloed track(s).
If you already have muted tracks and then solo a different track, when you unsolo, the muted tracks will stay muted.
Track Volume Faders
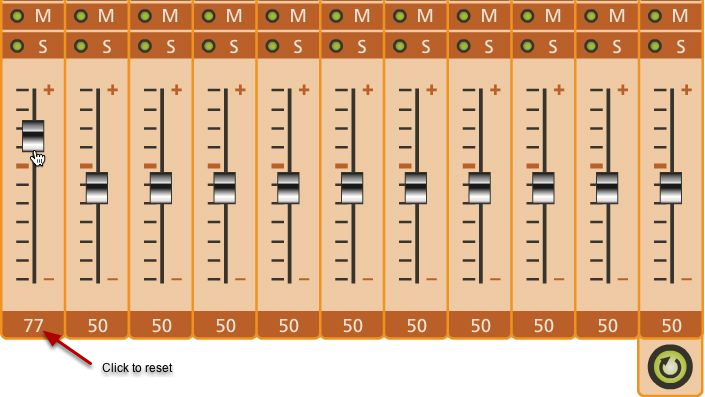
As mentioned above, the track volume sliders raise or lower the volume of each individual track. You can change the volume by clicking and dragging the slider up or down. You can also change it quickly by clicking anywhere on the track volume's grid. As you move the slider, the corresponding volume number will change.
Important Tip: If you change a volume setting and want to return it back to its default position, click on the number and it will reset.
The Mixer Reset Button

For your convenience, we've added a "Reset Mixer" button to quickly reset all solo, mute, track pan and volume changes back to their default positions.
Important Tip: Unfortunately there is no "undo button" so make sure you really want to change everything back before you press the button.